Images play a key role on your website, but why exactly?
Well, apart from enhancing the look of your website, images can help you connect with your audience, improve the user experience and bring your products and services to life.
BUT, done badly they can actually put people off! Most of the initial content we consume on a web page is visual and it’s important to make a good first impression. So here are my tips for making your photos work for you…
#1 Quality
Poor quality website photography can really undermine your message. Smartphone photos are generally great for social media, but if you’re using them for your website they have to be sharp, well lit and consistent. This is especially important for photos of your products.
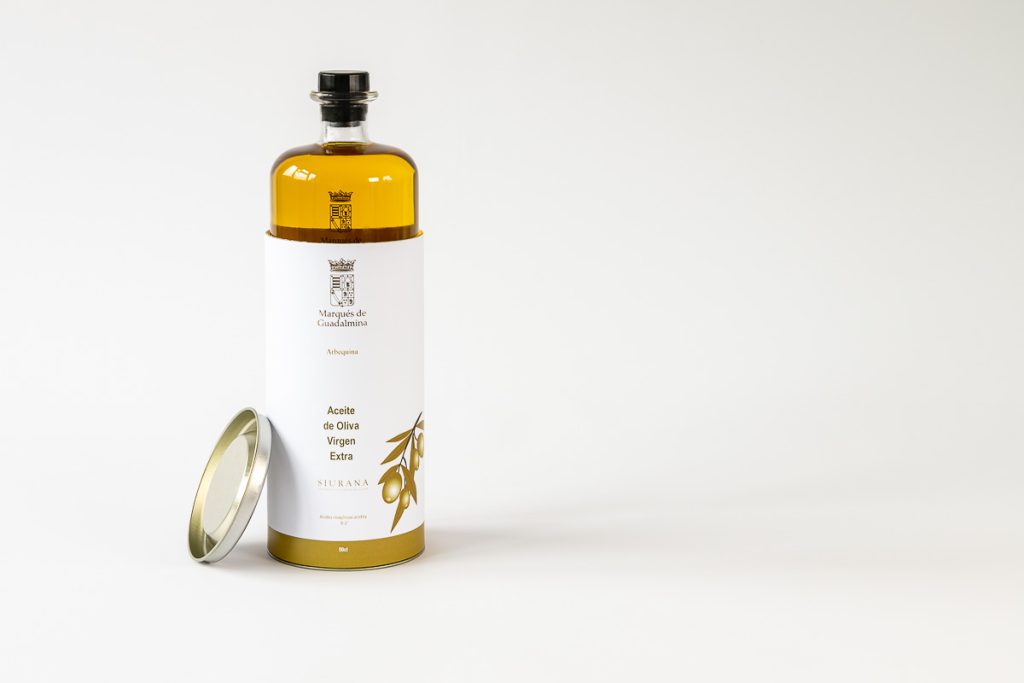
If you’re taking your own product photos I recommend using natural light (to avoid harsh shadows and colour casts from artificial light) and consider using a lightbox.
Stock photography websites are really handy for finding high quality imagery, but remember that you won’t be the only one using those photos.
And most of your audience will be able to spot a stock photo, so it’s worth investing in custom proessional photography unique to your business.
#2 File size
It’s important that your photos are high quality, but that doesn’t mean they have to be huge. Large images (ie. large file size) can slow down your website, which will damage your users’ experience. Slow load times are especially annoying for mobile visitors.
As a rule of thumb, large background or banner images should be no more than 1Mb and most other images can be less than 500Kb , but check with your web designer. If you’re not sure how big your image is, on a PC right click and select Properties > Details to see the file size, resolution and pixel dimensions. On a Mac, Ctrl+click on the image file and choose “Get Info.”
Most photo software will compress your image to a ‘web-friendly’ size or Photoshop has a ‘Save for web’ option. Or you can use a free program like TinyJPG to reduce the file size without affecting quality. Make sure you upload the photos to your website as JPGs, which have a smaller file size than PNGs for example.
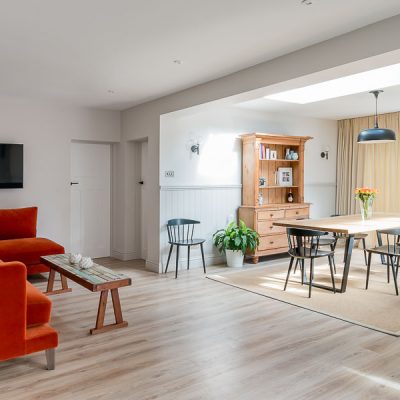
#3 Size and shape
As well as getting the file size right, make sure you think about the dimensions of the image itself.
It may seem obvious but a portrait image is not going to work as a banner on your website. You will need a landscape photo usually with proportions somewhere between 4:3 and 3:1 depending on your web design. Whatever you do, make sure your photo has the correct dimensions – if you try to stretch it to fit it will look distorted.

Top top tip for banner images: Use a photo with empty space so you can add your logo, business name or call to action. A neutral out of focus background will help the text stand out.
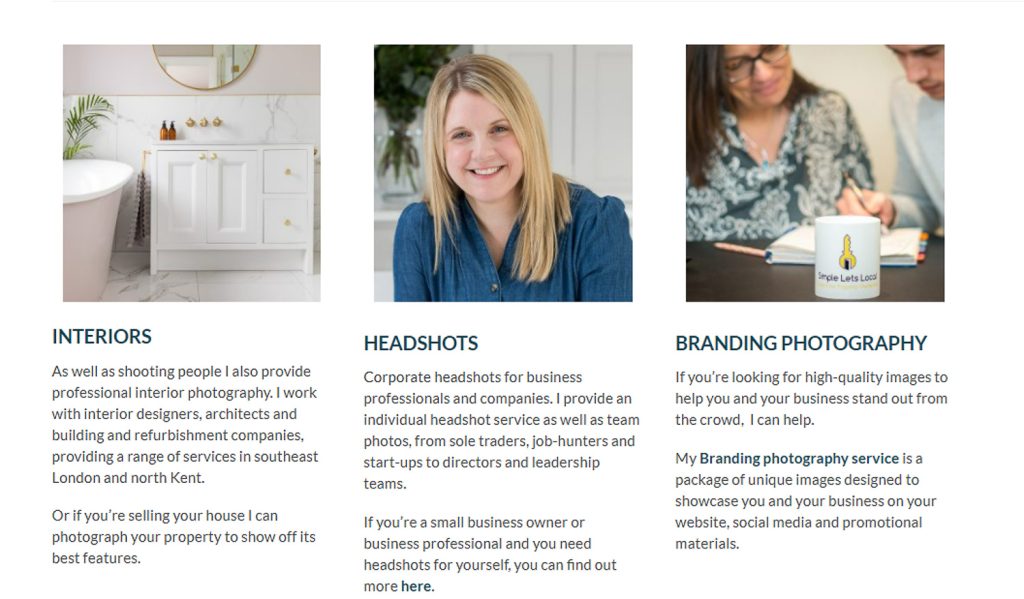
And aim for consistency in the size, shape and style of your photos, especially if they are on the same page. Make sure they are aligned with eachother and equally spaced. This is the services page on my website – users can click on each photo to take them to the information they need.
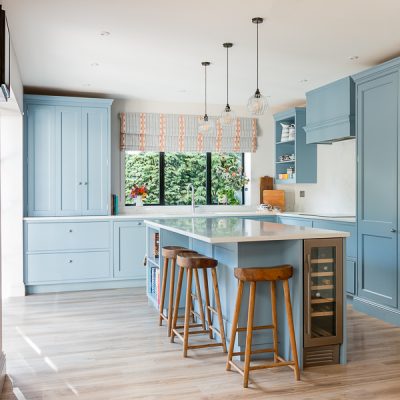
#4 Look and feel
When choosing your images, think about the look and feel of your website and your branding. If your logo, colour pallet and website design are light and airy with soft pastels for example, using photos with lots of dark or bright colours could look out of place.
Use photos which complement your branding colours – even better to have a splash of your branding colours in the images themselves.
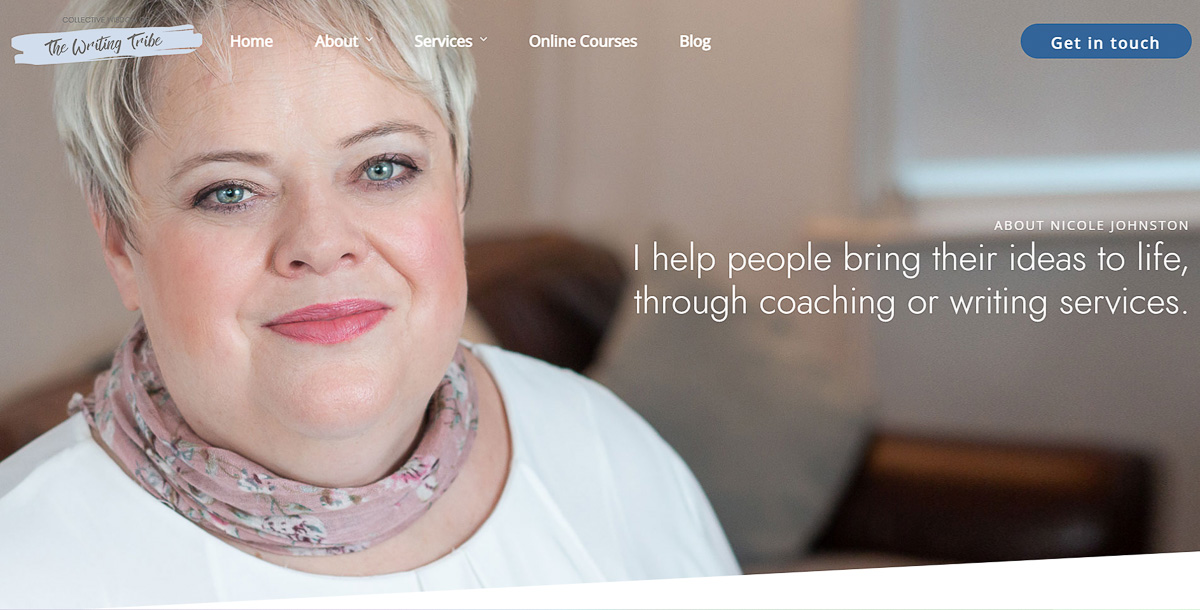
#5 Using your headshot
If you’re a small business owner you should have a decent headshot on your website, ideally on the Home Page but definitely on the About Me or Contact page. It helps to build trust and people can see who they’re dealing with.
Larger organisation websites will usually have headshots of all their staff, or at least the senior management team. Getting them all done in the same session or by the same photographer means they will look consistent on the company’s ‘Meet the team’ page.
A professional headshot shows you are serious about what you do, it can give you credibility and set you apart from the competition. It is often the first contact people have with you so make sure it stands out for the right reasons.
Corporate headshots tend to use a plain white or light-coloured backdrop, but that isn’t always the case these days. Sometimes a less formal backdrop can be more appropriate depending on your industry, as long as the background isn’t too distracting.
Remember the main purpose of a headshot is for people to see your face, so the background should be fairly non-descriptive. And my preference is that you are making eye contact with the camera.
If you’re thinking of booking a headshot photographer, here’s a quick guide on what you need to know before you book.
Top tip for using your headshot: If your headshot has been taken from an angle, make sure you place the photo on the webpage so that it is facing inwards, towards the text.