Your headshot is so much more than just a photo on a webpage…
Your headshot can make your website more eye-catching, reinforce your brand and make people remember you.
The tips below will help you create a headshot perfect for your website. But they all come down to this… PLANNING!
Ideally before your photoshoot you will have a clear idea of where your photos will go on your website. It’s one of the things I ask people to consider during our pre-shoot consultation, so we can really make sure they get the photos they need.
This is what you need to think about if you want your headshot to look great on your website…
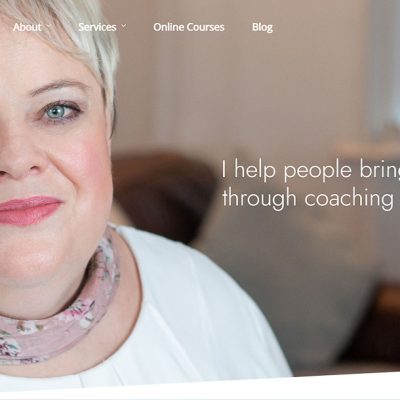
#1 Face the right way!
It sounds a bit obvious but you’d be surprised how many people get this wrong.
Most professional headshots are taken with your body at a slight angle, with your face turned towards the camera (to avoid that mugshot look!).
Make sure that your headshot is taken so that when it’s on your website you will be facing inwards, towards the text on the page. Like this one >>>
Not only does it look better, but it also helps to draw the viewer’s attention to what’s on the page.
People rarely read web pages word for word; instead they tend to scan picking out key words and images. If you are facing towards what you want them to read, they are more likely to read it. This also goes for using your headshot in social media posts!

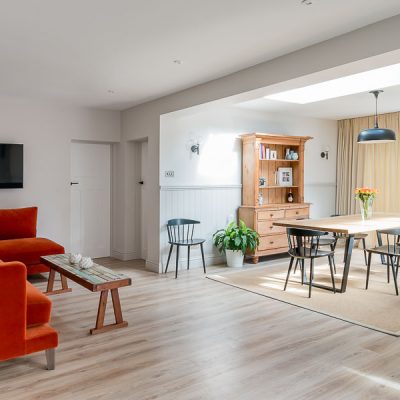
#2 Use empty space
Also known as dead space, leaving some blank wall or other neutral background to one side of an image creates an ideal place to add your logo, business name or a call to action.
Facing towards the empty space will draw the viewer’s eye to what you want them to read. And a neutral out of focus background will help the text stand out.
Wider images with empty space work really well for website headers. Remember that you will need a landscape photo for this, usually with proportions somewhere between 4:3 and 3:1 depending on your web design. Make sure your photographer knows you would like to use a headshot as a website header so that you have the correct dimensions.
Using a background in line with your branding colours will look better on your website and more importantly reinforce your brand identity.
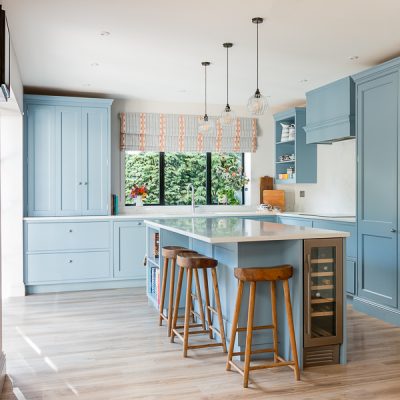
#3 Look and feel
Headshots are a great way to reinforce your company branding. When planning your headshot shoot, think about the look and feel of your website and your company logo and colours.
Choose your outfit and background using colours and tones which will complement your branding. Even better to have a splash of your branding colours in the images themselves, but don’t overdo it.
You don’t have to ‘match’ your logo but if your website colour pallet is light and airy with soft pastels for example, wearing brightly coloured geometric print for example is going to look out of place.
If you’re struggling with outfit choices, you can read here my ten top tips on what to wear for your headshots.
And finally…
…once you’ve done all this planning for your new headshots, make sure you share your thoughts with your photographer – and they will probably have their own suggestions too, on how to make your headshot look great on your website.